Setting up a connection for Excel to the Teradata database was a little bit of a challenge. In this example, the Operating System was Windows 7 and version Excel 2013 was used. This is broken in to two parts, first is setting up the ODBC connection, then section is attaching the connection in Excel.
Note: If the ODBC connection is already setup, then skip down to Part 2
Part 1: Setting up the ODBC Connection to Teradata
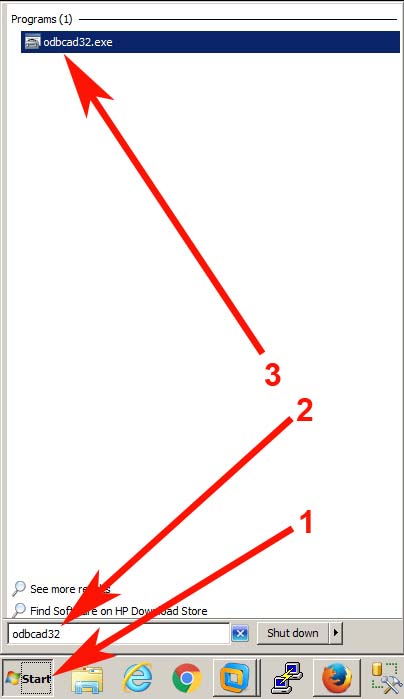
- Click the Start button, type in the run text box: odbcad32, then hit the enter button or click on the link above the box.
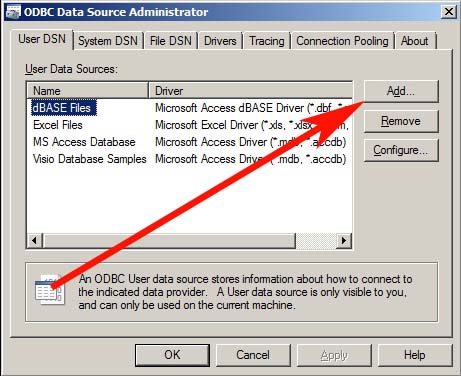
2. The ODBC Data Source Administrator box will open, click the Add button.
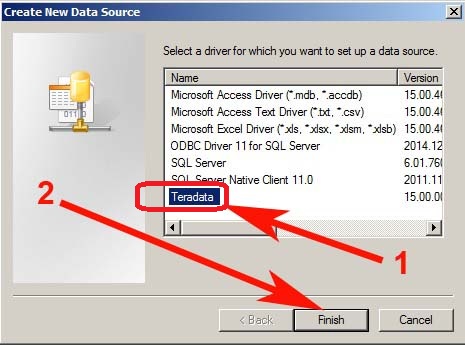
3. A new box will pop open, click on the Teradata driver, then click the Finish button.
Note: If the Teradata driver is not there, then contact the IT department to have it install on the computer.
4. If using a Teradata database account:
1. Enter a name that will be easy to recognize
2. Optional to enter a description
3. Then the database server name or IP address of the Teradata database (may need to get this from the IT department)
4. Enter the database account
5. Enter the password for the database account
6. Click the OK button
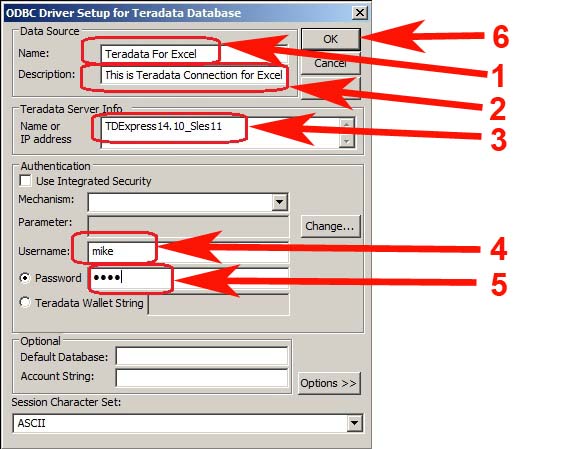
4a. If using an LDAP or Microsoft Active Directory account (eg. password is the same as the one logging on to the network), the in the Mechanism drop down menu and chose LDAP, before clicking the OK button.

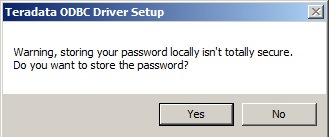
5. A popup warning will display about choosing to store the password. If the company’s security policy permits this, then click the YES button. This will prevent being asked each time for a password when the connection is made.
6. The newly created ODBC connection for Teradata should now be listed, click the OK button to close the ODBC Data Source Adminstrator.

Part 2: Connecting to the ODBC Connection in Excel
- In the Excel Workbook that you want the Teradata information, click on the Data tab. Then click on the From Other Source drop down menu. Then click on the From Data Connection Wizard.

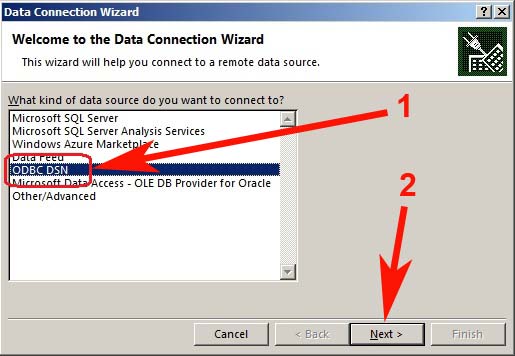
2. Click on the ODBC DNS, then click on the Next button.
3. The newly created ODBC connection for Teradata from part 1 above should be there, click on it to highlight it, then click on the Next button.

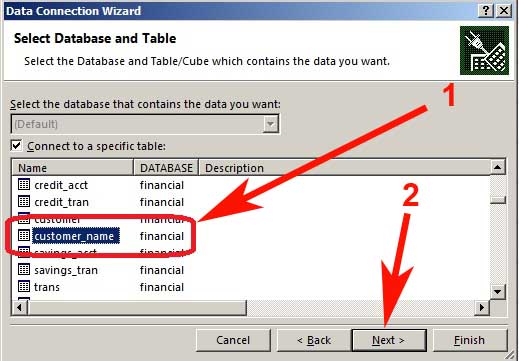
4. This is where the table or view with the information that you want brought in to Excel. Highlight the database and table name, then click on the Next button.
Caution: In Teradata, some of your tables can be holding billions of records, if you attempt to bring in that large a table, it will crash Excel.
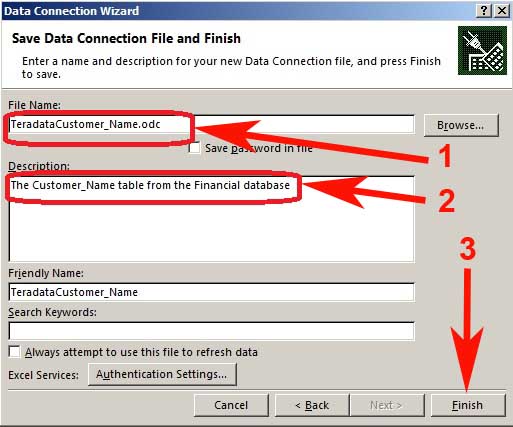
5. Enter a descriptive name, especially if this connection with be used again. The description is optional. Click on the Finish button, and the box will close.
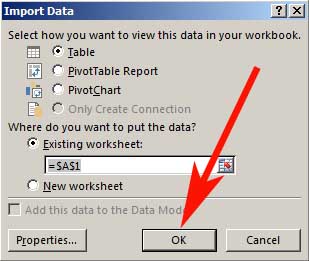
6. A popup box will ask to import the data now. If there is a large amount of data, this may take seconds, maybe even minutes depending on the database. In the example below, the defaults were taken by clicking on the OK button.
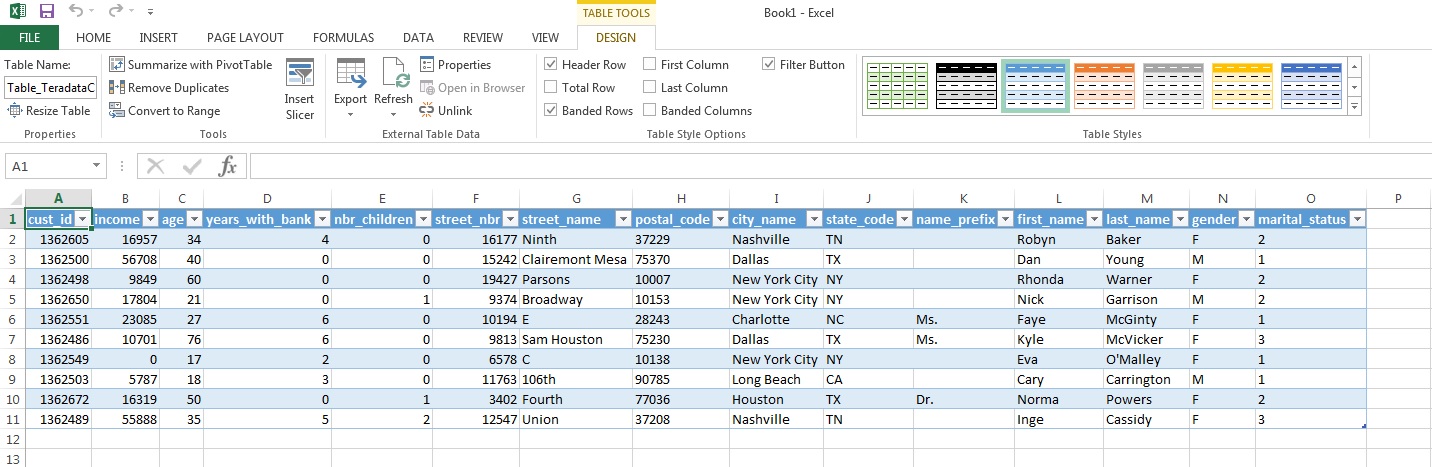
7. Below is an example of what the results may look like.